Even the most exquisite A-Grade slab of Calacatta Viola will fail if installed improperly. Lippage (uneven tile edges), hollow spots, cracking, staining from below, and grout haze are all installation defects — not material defects — and they're all preventable.
This guide covers the technical fundamentals that every installer, project manager, designer, and homeowner should understand before natural marble is set into place.

Part 1: Substrate Preparation
The substrate (the surface marble is installed onto) is the most critical factor in a successful marble installation. A bad substrate guarantees failure, regardless of adhesive or skill.
Substrate Requirements
| Factor | Minimum Standard | Why |
|---|---|---|
| Flatness | ≤ 3 mm variation over 3 m span | Prevents lippage (uneven tile edges) |
| Structural soundness | No cracks, no delamination, no hollow areas | Substrate movement = marble cracking |
| Moisture content | Concrete: ≤ 4% relative humidity; Screed: ≤ 2% CM | Excess moisture migrates through marble → staining, efflorescence |
| Curing time | Concrete: minimum 28 days; Screed: per manufacturer | Fresh concrete is too wet and too flexible |
| Cleanliness | Free of dust, paint, oil, curing compounds | Adhesive won't bond to contaminated surfaces |
| Load capacity | Must support marble weight (55–80 kg/m² + adhesive) | Floor deflection causes cracking |
Substrate Types and Preparation
| Substrate | Suitability | Preparation | Notes |
|---|---|---|---|
| Concrete slab | ✅ Excellent | Grind flat, prime with acrylic primer | Most common and reliable |
| Cement screed | ✅ Good | Level with self-leveling compound if needed | Check moisture with CM meter |
| Plywood (double layer) | ⚠️ Acceptable | 2× 12 mm marine plywood + fiberglass mesh + thin-set | Only for countertops and specific situations; more deflection risk |
| Existing tile | ⚠️ Acceptable | Grind glaze off for adhesion; check hollow tiles and replace | Adds height — check door clearances |
| Drywall / plasterboard | ⚠️ Light marble only | Prime + use flexible adhesive; mechanical anchors for heavy slabs | Not suitable for full marble slab walls — use dry-hang system |
| Metal framing | ✅ For dry-hang systems | Mechanical anchor brackets bolted to steel frame | Required for feature walls > 2 m height |
Part 2: Adhesive Selection
Adhesive Types for Natural Stone
| Adhesive Type | Best For | Pros | Cons |
|---|---|---|---|
| White cement-based thin-set (C2 class) | Marble floor tiles, wall tiles | Non-staining (critical for light marbles), strong bond | Rigid — limited flexibility |
| White flexible thin-set (C2S1/S2) | Marble on heated floors, wood substrates | Accommodates substrate movement | More expensive |
| Epoxy adhesive (R2T) | Heavy slabs, feature walls, countertop attachment | Highest bond strength, waterproof | Expensive, short working time, harder to apply |
| Polyurethane adhesive | Large-format slabs (>80×80 cm) | Flexible, vibration-resistant | Cannot be used for full-bed installation |
⚠️ Critical rule: ALWAYS use WHITE adhesive for light-colored marble. Grey cement-based adhesive can telegraph through translucent marbles — creating permanent grey shadowing visible on the surface. This is the most common adhesive mistake, and it's irreversible.
Adhesive Application Methods
| Method | Application | Coverage | Best For |
|---|---|---|---|
| Thin-bed (3–6 mm) | Notched trowel (10×10 mm or 12×12 mm) | Full contact — no voids | Tiles on flat substrates |
| Medium-bed (6–12 mm) | Notched trowel (15×15 mm) | Full contact | Tiles on slightly uneven substrates |
| Back-butter + comb | Adhesive applied to both tile back AND substrate | 100% coverage guaranteed | Large-format tiles (>60×60 cm), premium installations |
| Spot bonding | 5 dabs of adhesive on slab back | ~60% coverage | ❌ NEVER for marble — causes hollow spots, cracking, and uneven support |
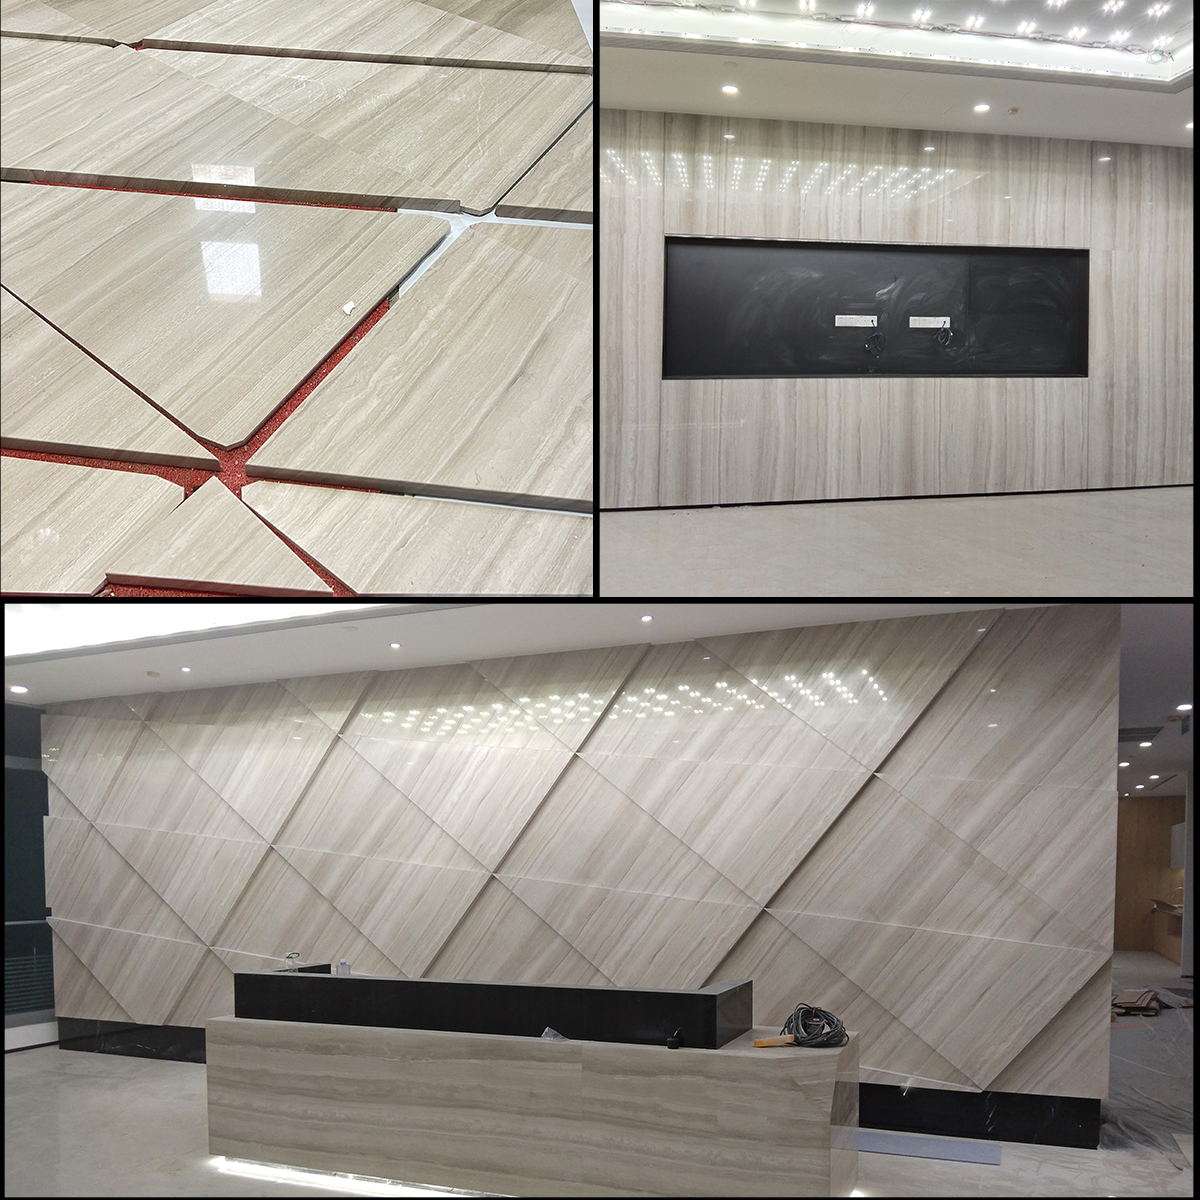
The "back-butter" rule: For any marble tile larger than 40×40 cm, apply adhesive to both the substrate (combed with notched trowel) AND the back of the tile (thin even layer). This "double-butter" or "back-butter" technique ensures 100% adhesive coverage and prevents hollow spots.
Part 3: Grouting
Grout Selection
| Grout Type | Best For Marble | Color Matching | Stain Resistance |
|---|---|---|---|
| Unsanded cement grout | ✅ Recommended for polished marble | Good range of colors | Medium (needs sealing) |
| Epoxy grout | ✅ Best for wet areas (showers, ) | Wide range | ✅ Excellent — waterproof, stain-proof |
| Sanded cement grout | ❌ NOT recommended | — | — |
⚠️ Never use sanded grout on polished marble. Sand particles scratch the polished surface during application, leaving permanent scratches along every grout line. Always use unsanded or epoxy grout.
Grout Joint Width
| Marble Format | Recommended Joint | Why |
|---|---|---|
| Calibrated tiles (factory-cut, uniform) | 1.5–2 mm | Minimal joint for seamless modern look |
| Non-calibrated tiles | 2–3 mm | Allows for slight size variation |
| Large-format slabs | 1–2 mm (or seamless with color-matched epoxy) | Maximum continuity for bookmatched walls |
| Exterior marble | 3–5 mm | Allows for thermal expansion |
Grouting Process
| Step | Detail |
|---|---|
| 1. Pre-seal the marble | Apply impregnating sealer to all tiles BEFORE grouting — this prevents grout pigment from absorbing into the marble |
| 2. Mix grout | Follow manufacturer ratios exactly; mix to peanut-butter consistency |
| 3. Apply diagonally | Push grout into joints at 45° angle with rubber float |
| 4. Clean within 15 minutes | Wipe excess with damp (not wet) sponge — diagonal strokes |
| 5. Final wipe | Buff grout haze with dry microfiber cloth within 1 hour |
| 6. Cure | Keep dry for 24–72 hours per manufacturer instructions |
| 7. Final seal | Apply second coat of impregnating sealer after grout has fully cured |
Part 4: Wet Area Installation
, , and other wet areas require additional waterproofing layers beneath the marble.
Waterproofing System
| Layer | Product Type | Purpose |
|---|---|---|
| 1. Substrate | Cement board or concrete (NOT paper-faced drywall) | Moisture-stable base |
| 2. Waterproof membrane | Liquid-applied (Mapei Mapelastic, Laticrete Hydro Ban) or sheet membrane | Prevents water from reaching the structure |
| 3. Membrane reinforcement | Fiberglass mesh at seams, corners, and drain area | Prevents membrane cracking at stress points |
| 4. Drain integration | Bonding flange sealed with membrane | Watertight connection at drain point |
| 5. Adhesive | White flexible thin-set or epoxy | Bonds marble to membrane |
| 6. Marble | Honed or bush-hammered finish for floor; honed for walls | Safe surface + beautiful material |
| 7. Grout | Epoxy grout (waterproof) | Prevents water infiltration through joints |
| 8. Sealer | Impregnating sealer on marble surface | Additional moisture protection |
Shower Floor Slope
| Specification | Standard |
|---|---|
| Minimum slope | 1.5–2% (1.5–2 cm drop per meter) toward drain |
| Direction | Radial toward center drain, or linear toward channel drain |
| Marble format | Small tiles (10×10 cm, ) conform to slope better than large tiles |
| Finish | Bush-hammered or textured (R11+ slip rating) — never polished |
Part 5: Dry-Hang Wall Installation
For large slab feature walls (> 2 m height) and heavy marble panels, mechanical "dry-hang" systems are safer and more professional than adhesive-only attachment.
How Dry-Hang Works
| Component | Description |
|---|---|
| Steel sub-frame | Aluminum or stainless steel profiles anchored to the wall structure |
| Kerf slots | Precision slots cut into the back edges of marble slabs |
| Anchor pins | Stainless steel pins inserted into kerf slots, hooking onto sub-frame |
| Adjustment | Pins allow precise leveling and plumbing of each slab |
| Gap filling | Silicone sealant in color-matched tone fills joints between slabs |
Dry-Hang vs Wet-Lay Comparison
| Factor | Dry-Hang (Mechanical) | Wet-Lay (Adhesive) |
|---|---|---|
| Maximum slab weight | Virtually unlimited (steel supports the load) | Limited by adhesive bond strength |
| Maximum wall height | Unlimited | ~2 m recommended maximum |
| Slab replacement | ✅ Individual slabs removable without damaging neighbors | ❌ Slabs bonded permanently |
| Thermal movement | ✅ Pins allow expansion/contraction | ❌ Rigid adhesive can stress slabs |
| Air gap behind slab | ✅ Yes — prevents moisture migration from wall to marble | ❌ No gap — moisture can affect marble from behind |
| Cost | $$$ (sub-frame fabrication + specialized installation) | $$ (standard adhesive method) |
| Best for | Hotel lobbies, bookmatched feature walls, exterior cladding | Residential walls < 2 m, backsplashes, bathroom walls |
Part 6: The 10 Most Common Installation Mistakes
| # | Mistake | Consequence | Prevention |
|---|---|---|---|
| 1 | Using grey adhesive on white marble | Permanent grey shadowing visible on surface | Always specify WHITE adhesive for any marble lighter than dark brown |
| 2 | Spot bonding instead of full-bed | Hollow spots → cracking → tile popping | Back-butter + comb method for 100% coverage |
| 3 | Grouting before sealing | Grout pigment permanently stains marble surface | Always seal marble BEFORE grouting |
| 4 | Using sanded grout on polished marble | Permanent scratches along every grout line | Use unsanded or epoxy grout on polished surfaces |
| 5 | Installing on wet/uncured concrete | Moisture migration → white efflorescence on surface | Test moisture with CM meter; wait for recommended curing time |
| 6 | No movement joints | Thermal expansion causes cracking and tenting | Install flexible silicone joints every 3–5 m and at all wall-floor junctions |
| 7 | Wrong slope in shower floor | Standing water → staining → mold | 1.5–2% slope toward drain; test with water before tiling |
| 8 | No waterproof membrane in wet areas | Water infiltration → structural damage → mold | Always install membrane between substrate and marble in |
| 9 | Excessive trowel pressure on thin marble | Slab cracks during installation | Use appropriately-sized notched trowel; let adhesive cushion support the slab |
| 10 | No protective cover during construction | Other trades scratch, stain, or damage freshly installed marble | Cover with corrugated cardboard + painters' tape until all construction is complete |
Installation Checklist
Pre-Installation
- Substrate flat (≤ 3 mm / 3 m), clean, dry, cured
- Marble tiles and slabs acclimatized to room temperature (24 hours minimum)
- All slabs inspected for defects and quality checked
- Layout dry-fitted to verify pattern, vein direction, and cuts
- WHITE adhesive on hand (confirmed with installer)
- Unsanded or epoxy grout selected
- Impregnating sealer ready for pre-grout application
- Movement joints planned at all boundaries and every 3–5 m
Post-Installation
- All tiles level — no lippage > 1 mm
- Grout joints clean, uniform, fully filled
- Movement joints filled with color-matched silicone
- Final sealer coat applied after grout cure (48–72 hours)
- Protective cardboard covering placed over finished marble
- Care instructions provided to the homeowner / facility manager
Part 7: Material Handling on Site
Proper marble handling before installation is just as important as the installation itself. Many cracking and chipping issues occur during transport and staging — not during actual setting.
| Handling Rule | Why |
|---|---|
| Store slabs vertically in A-frame racks | Prevents bowing and breakage from horizontal stacking pressure |
| Never drag slabs across hard surfaces | Scratches the polished face and can fracture edges |
| Acclimatize to room temperature for 24–48 hours | Prevents thermal shock cracking when adhesive generates heat during curing |
| Lift with vacuum suction cups for large slabs | Even weight distribution; prevents finger-pressure cracks on edges |
| Inspect every slab before installation | Reject hairline cracks, chips, or color mismatches BEFORE setting |
| Protect installed marble immediately | Cover with corrugated cardboard secured with painter's tape — keep covered until all other trades complete |
FAQs
Can I install marble over existing tile? Yes — provided the existing tiles are firmly bonded (no hollow tiles), the surface is ground to remove glaze for adhesion, and the added height doesn't conflict with door thresholds or cabinet heights. Apply a flexible adhesive suited for tile-over-tile installation.
How long before I can walk on newly installed marble floors? Allow 24–48 hours for adhesive to cure before foot traffic, and 72 hours before placing heavy furniture. Avoid wet mopping for at least 72 hours after grouting.
Does FutureStone provide installation guidance? We supply detailed installation specifications with every project order, including recommended adhesive types, substrate requirements, and packing/handling instructions. For large commercial projects, we can connect you with experienced installation contractors in your region. Contact our project team →
Do different marble types require different installation approaches? Yes — darker marbles (like Black Marquina) are less sensitive to adhesive color shadowing, but still benefit from white adhesive as best practice. Serpentine-based green marbles may require epoxy adhesive rather than cement-based thin-set due to their mineral composition. Translucent marbles (like some onyx varieties) are the most sensitive to adhesive color. Always discuss the specific marble with your installer before work begins. This is a Pillar article in the Stone Craft series. Published by FutureStone Group — direct marble manufacturer. View our factory → | Request project support →