Complete Marble Care Guide: Cleaning, Sealing And Stain Removal
Natural marble is a lifetime investment — but only if you maintain it properly. Unlike granite or engineered quartz, marble is a calcite-based stone that's sensitive to acids, porous enough to absorb stains, and soft enough to scratch from everyday abrasion.

The good news? With the right routine, marble care is simpler than most people think. This guide gives you everything you need: daily cleaning protocols, sealing schedules, stain removal procedures for every common scenario, and finish-specific advice.
Understanding Why Marble Needs Special Care
| Property | What It Means for Maintenance |
|---|---|
| Calcite composition (CaCO₃) | Reacts with acids — lemon, vinegar, tomato, wine will etch the surface |
| Porosity (0.10–0.20% absorption) | Liquids can penetrate and stain if not sealed |
| Hardness (Mohs 3–4) | Softer than granite (Mohs 6–7) — can scratch from sand, keys, or abrasive pads |
| Crystalline structure | Polished surfaces show etching and scratches more than honed/leathered |
Key distinction: Etching and staining are different problems with different solutions.
- Etching = chemical reaction that dulls the polish (caused by acid). It changes the surface texture.
- Staining = color absorbed into the stone (caused by oil, wine, coffee). It changes the color beneath the surface.
Daily Cleaning: The 2-Minute Routine
The best marble maintenance is prevention. A simple daily routine prevents 90% of issues.
For Polished and Honed Marble
| Step | Action | Product |
|---|---|---|
| 1 | Wipe surface with a dry microfiber cloth | Microfiber cloth (lint-free) |
| 2 | If needed, dampen cloth with warm water and wipe again | Warm water only |
| 3 | For deeper clean, spray pH-neutral stone cleaner and wipe | StoneTech Revitalizer, Lithofin Easy Clean, or similar |
| 4 | Dry the surface completely — don't let water sit | Dry microfiber cloth |
For Leathered and Brushed Marble
| Step | Action | Product |
|---|---|---|
| 1 | Sweep or vacuum to remove dust from textured surface | Soft brush or vacuum with soft nozzle |
| 2 | Damp mop with pH-neutral stone cleaner | Diluted stone cleaner + microfiber mop |
| 3 | Pay attention to textured grooves where grime accumulates | Soft bristle brush for stubborn spots |
| 4 | Air dry or towel dry | — |
Products to NEVER Use on Marble
| Product | Why It's Harmful |
|---|---|
| ❌ Vinegar | Acid etches calcite — creates permanent dull spots |
| ❌ Lemon juice / citrus cleaners | Same acid reaction as vinegar |
| ❌ Bleach | Degrades sealant, can discolor stone |
| ❌ Bathroom cleaners (Lysol, Clorox, etc.) | Typically acidic (pH 2–4) — will etch marble |
| ❌ Abrasive scrub pads (Scotch-Brite green) | Scratches polished surfaces permanently |
| ❌ Ammonia-based cleaners (Windex) | Won't etch but strips sealant over time |
| ❌ Generic "all-purpose" cleaners | Unknown pH — risk isn't worth it |
The golden rule: If it's not labeled "safe for natural stone" and "pH-neutral (pH 7–8)," don't use it on marble.
Sealing: Your First Line of Defense
What Sealer Does
Impregnating sealers penetrate the marble's pores and create an invisible barrier that slows liquid absorption — giving you time to wipe up spills before they stain. Important: sealers do NOT prevent etching (that's a chemical surface reaction, not absorption).
Types of Sealers
| Type | How It Works | Best For | Lifespan |
|---|---|---|---|
| Impregnating (penetrating) sealer | Absorbs into pores, creates subsurface barrier | All marble surfaces — the industry standard | 6–24 months |
| Topical sealer | Creates a film coating on the surface | Not recommended for marble (alters appearance, peels, traps moisture) | — |
| Color-enhancing sealer | Impregnating + deepens stone color slightly | Dark marbles where you want richer color | 12–24 months |
Recommended products:
| Product | Type | Coverage | Price Range |
|---|---|---|---|
| Tenax Proseal | Impregnating, solvent-based | 15–20 m²/liter | $ |
| Akemi Darkener Anti-Stain | Color-enhancing | 10–15 m²/liter | $ |
| StoneTech BulletProof | Impregnating, water-based | 15–25 m²/liter | $$ |
| Lithofin Stain-Stop | Impregnating, water-based | 10–20 m²/liter | $$ |
| Miracle Sealants 511 Porous Plus | Impregnating, solvent-based | 15–30 m²/liter | $ |
Sealing Schedule by Application
| Application | Seal Frequency | Why |
|---|---|---|
| Kitchen countertop | Every 6 months | High exposure to food acids, oils, liquids |
| Bathroom vanity | Every 6–12 months | Cosmetics, toothpaste, soap residue |
| Shower walls | Every 12 months | Regular water exposure |
| Living room floor | Every 12–18 months | Moderate foot traffic, occasional spills |
| Feature wall | Every 24 months | Minimal contact or exposure |
| Outdoor application | Every 6–12 months | Rain, UV, temperature cycling |
| Marble furniture (coffee table, dining table) | Every 6–12 months | Daily use, drink rings, plate scratching |
The Water Test: When to Reseal
How to check if your marble needs resealing:
1. Sprinkle a few drops of water on the surface
- Wait 10 minutes
- Observe:
| Result | Meaning | Action |
|---|---|---|
| Water beads on surface | Sealer is active | No action needed |
| Water slowly darkens the marble | Sealer is weakening | Reseal within 2–4 weeks |
| Water absorbs immediately | No sealer protection | Reseal immediately |
→ Related reading: 5 Quick Tests to Check Marble Quality
How to Apply Sealer (Step by Step)
| Step | Action | Detail |
|---|---|---|
| 1 | Clean the surface | Use pH-neutral cleaner, remove all dirt and residue |
| 2 | Let surface dry completely | 24 hours minimum — moisture trapped under sealer = haze |
| 3 | Apply sealer evenly | Use a lint-free cloth or lamb's wool applicator, work in sections |
| 4 | Let sealer penetrate | 5–15 minutes (follow product instructions) |
| 5 | Remove excess | Buff with a dry, clean microfiber cloth before sealer dries |
| 6 | Apply second coat (recommended) | Wait 30–60 minutes, repeat steps 3–5 |
| 7 | Cure time | 24 hours before normal use, 72 hours before heavy exposure |
Stain Removal: The Complete SOP
Step 1: Identify the Stain Type
| Stain Color/Appearance | Likely Cause | Type |
|---|---|---|
| Dark spot, organic-looking | Coffee, tea, wine, fruit juice | Organic |
| Oily, dark ring or smudge | Cooking oil, butter, cosmetics, lotion | Oil-based |
| Orange/brown spots growing over time | Iron deposits in the stone oxidizing | Rust (metallic) |
| White ring or dull patch | Acidic liquid (lemon, vinegar, wine) | Etch mark (not a stain) |
| Pink or blue-green | Biological — mold, algae, bacteria | Biological |
| Yellowish haze | Trapped moisture under sealer, or wax buildup | Moisture/product |
Step 2: Make a Poultice
A poultice is a paste applied to the stained area that draws the stain out of the stone as it dries. This is the professional method used by stone restoration specialists.
Base materials:
| Base | Best For |
|---|---|
| Baking soda | Oil-based stains |
| Hydrogen peroxide (12%) | Organic stains (coffee, wine, tea) |
| Acetone | Oil-based stains (alternative to baking soda) |
| Iron-Out (oxalic acid solution) | Rust stains specifically |
| Bleach solution (diluted) | Biological stains (mold) — use cautiously |
Step 3: Apply by Stain Type
Coffee / Tea / Wine Stains (Organic)
| Step | Action |
|---|---|
| 1 | Mix hydrogen peroxide (12%) with baking soda to form a thick paste |
| 2 | Apply the paste over the stain, extending 1 cm beyond the stain edge |
| 3 | Cover with plastic wrap, tape edges to seal |
| 4 | Let sit 24–48 hours (poultice must dry completely — this is what draws the stain upward) |
| 5 | Remove dried poultice, rinse with water, dry surface |
| 6 | Repeat if stain remains (some deep stains need 2–3 applications) |
| 7 | Reseal the treated area |
Cooking Oil / Butter / Cosmetic Stains (Oil-Based)
| Step | Action |
|---|---|
| 1 | Mix baking soda with acetone to form a thick paste |
| 2 | Apply over stain, cover with plastic wrap |
| 3 | Let sit 24–48 hours |
| 4 | Remove, rinse, dry |
| 5 | If stain persists, repeat with commercial stone degreaser |
| 6 | Reseal the treated area |
Rust Stains (Metallic)
| Step | Action |
|---|---|
| 1 | Apply a commercial rust remover designed for natural stone (Iron-Out, Lithofin Rust Remover) |
| 2 | Follow product instructions — typically 15–60 minutes contact time |
| 3 | Rinse thoroughly with clean water |
| 4 | Never use general-purpose rust removers — they often contain acids that etch marble |
| 5 | Reseal the treated area |
Prevention: Rust stains often come from iron deposits inside the marble that oxidize when exposed to water. If your marble has visible iron inclusions, seal more frequently and avoid leaving standing water on the surface.
Etch Marks (Acid Damage)
Etch marks look like stains but are actually surface damage — the acid has dissolved a microscopic layer of the polished marble.
| Severity | Appearance | Fix |
|---|---|---|
| Light etch | Slight dull spot, visible only at certain angles | Marble polishing powder (tin oxide or calcium fluoride), buff with soft cloth |
| Medium etch | Clearly visible dull area | Professional re-polishing with diamond pads |
| Severe etch | Rough, white-looking area | Professional restoration — may need sanding + re-polishing |
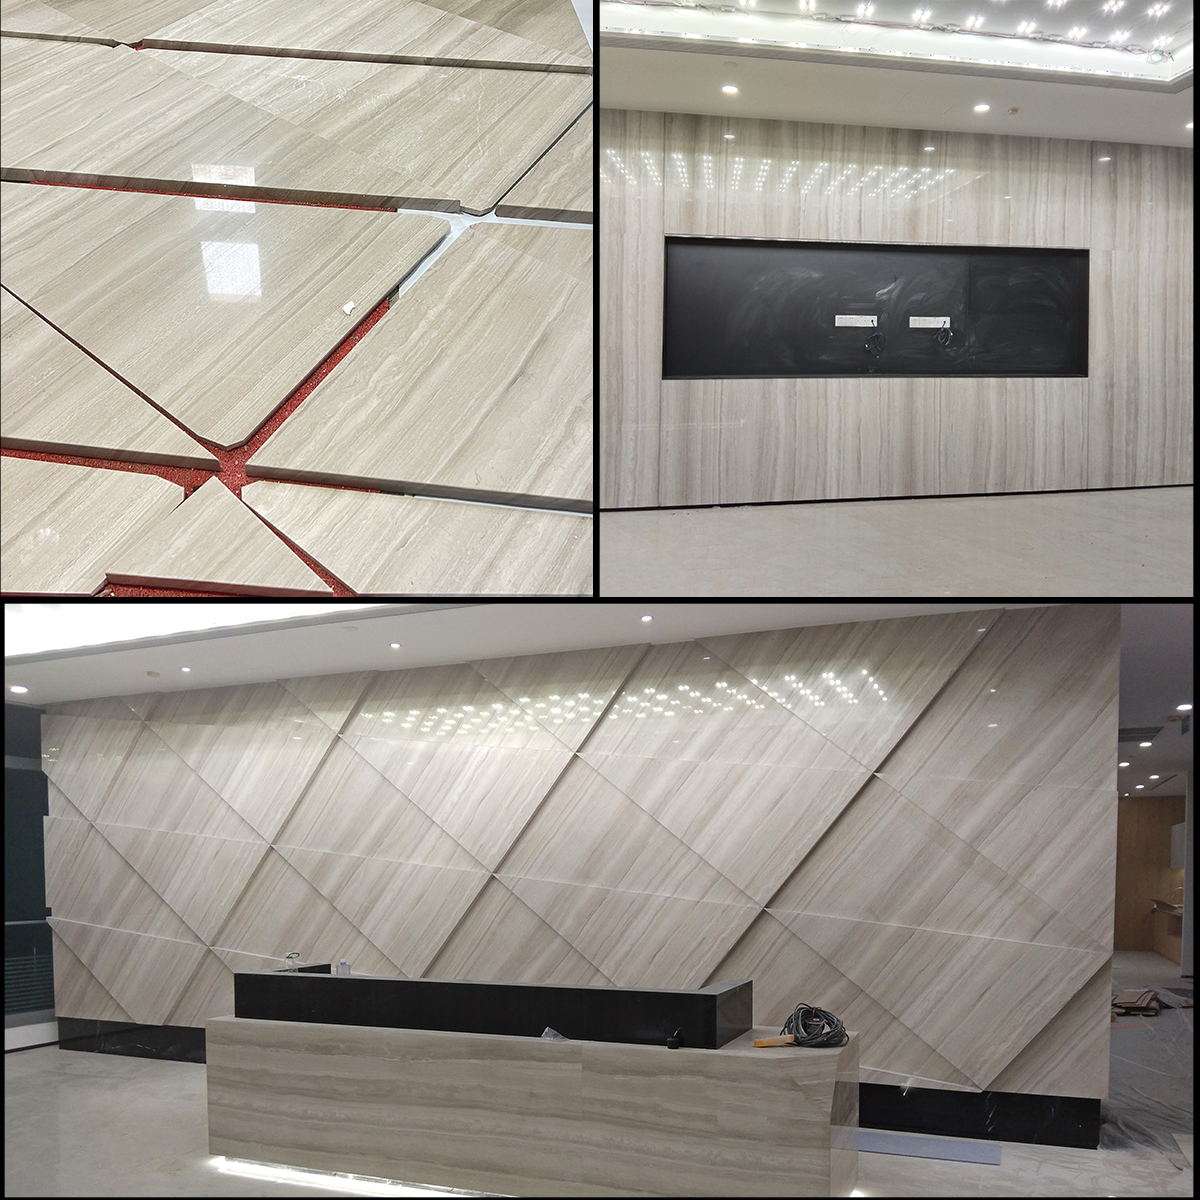
Honed and leathered surfaces are naturally more resistant to visible etching — this is one of the key advantages of choosing these for kitchens and high-use areas.
Finish-Specific Maintenance Guide
| Task | Polished | Honed | Leathered | Brushed |
|---|---|---|---|---|
| Daily clean | Microfiber + water | Microfiber + water | Dry cloth or vacuum | Vacuum + damp mop |
| Weekly deep clean | pH-neutral spray + wipe | pH-neutral spray + mop | pH-neutral spray + wipe | pH-neutral diluted + soft brush |
| Stain visibility | Medium — veins help camouflage | High — flat matte shows stains | Low — texture hides marks | Low — texture hides marks |
| Etch visibility | High — kills the mirror reflection | Low — matte doesn't show dulling | Very low — texture masks etching | Very low |
| Seal frequency | Every 6–12 months | Every 6 months (more porous) | Every 12 months | Every 12–18 months |
| Scratch repair | Professional polishing | Difficult to blend seamlessly | Self-camouflaging | Self-camouflaging |
| Best used for | Feature walls, formal areas | Bathroom floors, | Countertops, | , wabi-sabi interiors |
→ Related reading: Polished vs Honed vs Leathered vs Brushed: Comparison Chart
→ Related reading: Honed, Polished or Leathered — Which Finish Should I Choose?
Prevention Checklist: 10 Rules to Live By
| Rule | Why |
|---|---|
| 1. Seal immediately after installation | Fresh marble is unprotected; don't wait "to see how it goes" |
| 2. Use coasters under all glasses | Condensation rings + acidic drinks = double trouble |
| 3. Use cutting boards — always | Knives scratch marble; citrus juice etches it |
| 4. Wipe spills within 60 seconds | Even sealed marble can stain from prolonged exposure |
| 5. Use trivets under hot pots | Marble won't burn, but thermal shock can cause micro-cracks |
| 6. Use felt pads under decor items | Metal bases can leave rust marks; rough bases can scratch |
| 7. Don't drag items across the surface | Lift, don't slide — grit trapped underneath is like sandpaper |
| 8. Keep sand and grit off marble floors | Place doormats at every entrance; sweep or vacuum frequently |
| 9. Re-test sealer every 6 months | The water drop test takes 2 minutes and prevents major stains |
| 10. Never use DIY cleaning hacks from the internet | "Baking soda + vinegar" is an acid that will etch your marble |
When to Call a Professional
| Scenario | DIY Feasible? | Professional Needed? |
|---|---|---|
| Light surface etch on polished marble | ✅ Polishing powder | Optional |
| Deep etch marks or widespread dulling | ❌ | ✅ Diamond re-polishing |
| Old, deeply set stain | ⚠️ Try poultice first | ✅ If poultice fails after 3 attempts |
| Cracks or chips | ❌ | ✅ Resin filling + color matching |
| Entire floor has lost its lustre | ❌ | ✅ Full-floor diamond re-polishing (crystallization or grinding) |
| Lippage (uneven tile edges) | ❌ | ✅ Grinding + re-polishing |
| Grout deterioration in | ⚠️ Regrouting is possible DIY | ✅ If waterproof membrane may be compromised |
Annual Maintenance Calendar
| Month | Task | Time Required |
|---|---|---|
| January | Full inspection — check sealer (water test), look for new etch marks or stains | 30 minutes |
| February | Reseal kitchen countertops and dining table | 1–2 hours |
| April | Deep clean all marble floors; check grout condition | 2–3 hours |
| June | Reseal bathroom vanities and shower walls | 1–2 hours |
| August | Reseal kitchen countertops again (if heavily used) | 1 hour |
| September | Inspect outdoor marble — reseal and clean before winter | 2 hours |
| November | Deep clean all marble surfaces; assess if professional polishing is needed | 2–3 hours |
| December | Reseal bathroom vanities (second cycle) | 1 hour |
DIY Marble Care Toolkit: Shopping List
Keep these items on hand for routine marble maintenance and emergency stain treatment:
| Item | Purpose | Approximate Cost |
|---|---|---|
| pH-neutral stone cleaner (StoneTech or Lithofin) | Daily/weekly cleaning | $10–20 |
| Impregnating stone sealer (Tenax Proseal or StoneTech BulletProof) | Resealing every 6–12 months | $25–50 |
| Microfiber cloths (pack of 6+) | Daily wiping, sealer application | $8–15 |
| Baking soda (500g) | Poultice base for stain removal | $3–5 |
| 12% hydrogen peroxide (500ml) | Organic stain poultice agent | $5–10 |
| 100% acetone (500ml) | Oil-based stain poultice agent | $5–10 |
| Plastic wrap + painter's tape | Covering poultice during treatment | $5–8 |
| Marble polishing powder (tin oxide) | Light etch mark repair | $10–20 |
| Lamb's wool applicator or lint-free cloths | Even sealer application | $8–15 |
| Soft bristle brush | Textured finish cleaning | $5–10 |
Total kit cost: Approximately $80–160 — a small investment to protect a $5,000–60,000+ marble installation.
⚠️ Chemical Safety: When using acetone or hydrogen peroxide, work in a well-ventilated area. Wear nitrile gloves to protect skin. Acetone is flammable — keep away from heat sources. Never mix hydrogen peroxide with vinegar or bleach. Store all chemicals away from children and pets. Follow manufacturer safety data sheet (SDS) recommendations.
FAQs
Can I use marble in a kitchen without worrying about stains?
Yes — if you seal regularly, use coasters, and wipe spills within 60 seconds. Many professional kitchens worldwide use marble successfully. The key is choosing the right — honed or leathered surfaces are far more forgiving than polished.
How much does professional marble restoration cost?
For a typical kitchen countertop re-polishing: $200–500. For a full bathroom floor re-polishing: $500–1,500. For a large living area floor: $2,000–5,000+. Costs vary by region and severity of damage.
Does honed marble stain more easily than polished?
Yes — honed marble has more open pores at the surface, which means liquids absorb slightly faster. This is why more frequent sealing is recommended for honed surfaces. However, honed marble shows etch marks far less than polished, making it easier to live with in kitchens.
Is there a marble that requires almost no maintenance?
All natural marble requires some care. If you want the marble look with minimal maintenance, consider: (1) leathered finish on a dense marble like Helen White, or (2) a high-quality marble-look porcelain for secondary surfaces, keeping natural marble only for hero pieces.
This is a Pillar article in the Stone Craft & Technical Knowledge series. Published by FutureStone Group — direct marble manufacturer and exporter. Browse our marble catalog → | Request samples →
Marble stain removal and long-term care hub
This article is the central maintenance reference in FutureStone's marble stain removal and long-term care hub. Use it to connect daily cleaning, sealing, stain response, finish protection and project handover so a marble floor, countertop, vanity, shower wall or bathtub can be maintained after installation.
Buyer intent: finish-specific marble care checklist for polished, honed, leathered and brushed marble in kitchens, bathrooms, wet areas, floors, stairs and commercial interiors.
Finish-specific marble care checklist
- Polished marble: protect the shine from acids, abrasive pads and hard-water marks; use pH-neutral cleaner and soft cloths.
- Honed marble: expect easier watermark visibility in wet zones; confirm sealing schedule and cleaning routine before bathroom or kitchen use.
- Textured marble: review slip resistance, dirt retention and brushing direction before approving shower floors, stairs or commercial floors.
- Project handover: give owners a cleaner list, water-test interval, stain response method, spare tile allowance and contact point for maintenance questions.
For deeper care topics, use the marble resealing schedule, the wet-area marble mistakes guide, the marble stain removal guide, marble material options, basin and tub projects, and kitchen countertop projects. For project sourcing or maintenance handover, contact FutureStone with drawings, finish, stone type, use area and maintenance risk notes.
Complete marble care FAQ
What is the safest daily cleaner for natural marble?
The safest daily cleaner is a pH-neutral stone cleaner or clean water with a soft cloth. Avoid acidic, alkaline, abrasive and bleach-based products because they can etch, dull or discolor marble.
How do I connect sealing and stain removal in a maintenance plan?
Use sealing to slow absorption and stain removal procedures for accidents. A strong plan includes water testing, prompt blotting, pH-neutral cleaning, poultice guidance and a rule for when to call a professional.
Should polished and honed marble be maintained the same way?
No. Polished marble is more sensitive to visible etching and shine loss, while honed marble can show water marks and soil more easily. The finish should decide cleaning frequency, sealer review and restoration expectations.